Setting Up Your Moose Project
Viewing typescript
switch to python
In this section, you’ll create a new Moose project and set up the development environment. By the end, you’ll have a running Moose instance with all the necessary infrastructure components ready for building your GitHub analytics pipeline.
- Node.js: version 20+
- Python: version 3.12+
- Docker: Installation instructions
- OS: macOS or Linux (Windows supported via WSL)
Create Your GitHub Analytics Project
Create a new Moose project
pip install moose-climoose-cli init moose-github-analytics python --emptynpx create-moose-app@latest moose-github-analytics ts --empty- This command initializes a new Moose project with the name “moose-github-analytics”.
- The
--emptyflag creates a minimal project structure without any sample code, giving us a clean slate to build our GitHub analytics service.
Project Structure Overview
The Moose CLI creates a project with the following structure:
Each folder corresponds to a Moose primitive:
| Folder | Description |
|---|---|
datamodels/ | Where you’ll define the structure of your data |
functions/ | Where you’ll implement data processing logic |
blocks/ | Where you’ll create data views and aggregations |
apis/ | Where you’ll define endpoints to expose your data |
Install Project Dependencies
cd moose-github-analytics && pip install -e .cd moose-github-analytics && npm installThis installs all required dependencies for your Moose project.
Start the Development Server
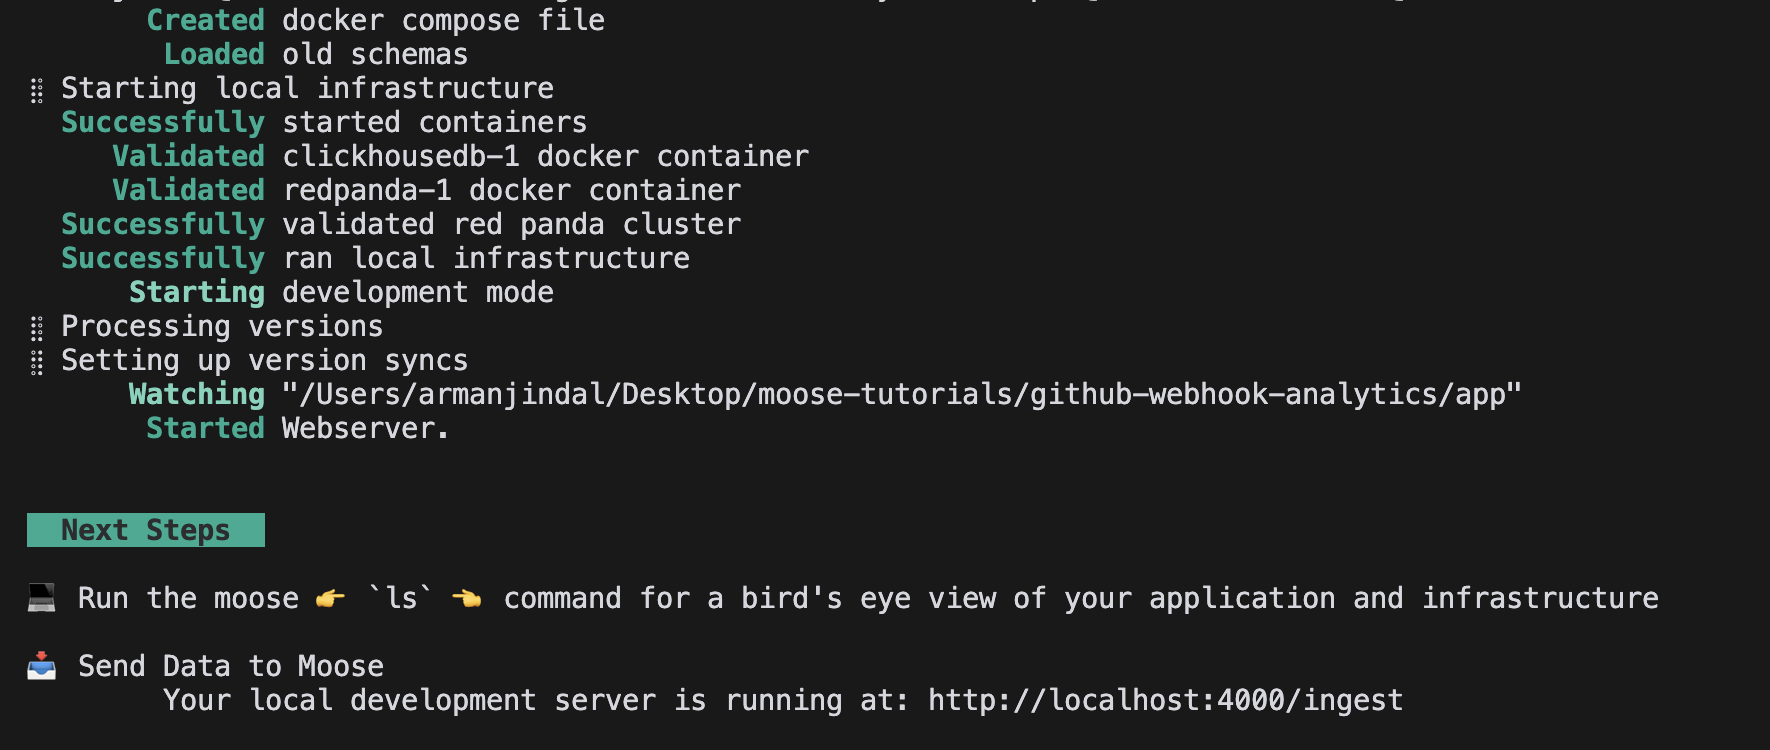
moose-cli devnpm run devThe Moose dev server spins up a local version of a production data stack, including:
- Clickhouse (database) container
- Redpanda (streaming platform) container
- A webserver at
http://localhost:4000 - And more!
When you make changes to your code, it automatically reloads your application to reflect the updates.
You should expect to see the following printed to your terminal:
Verify Your Setup
Open a new terminal window and run:
moose-cli lsnpx moose-cli lsThis command lists all available data models, ingestion points, and tables. Since we started with an empty project, you won’t see any yet, but we’ll create them in the next section.
Troubleshooting
What’s Next?
Now that you have your Moose development environment up and running, you’re ready to start building your GitHub analytics service. In the next section, you’ll create your first Data Model to define the structure of the GitHub star event data.
Keep the development server running in your terminal as you proceed through the rest of the tutorial. You’ll need it to see your changes in real-time.